
.png)
Easy DIY Candle Using a Thrift Shop Snowman Vessel
- Sandra Dietz

- Dec 30, 2025
- 3 min read
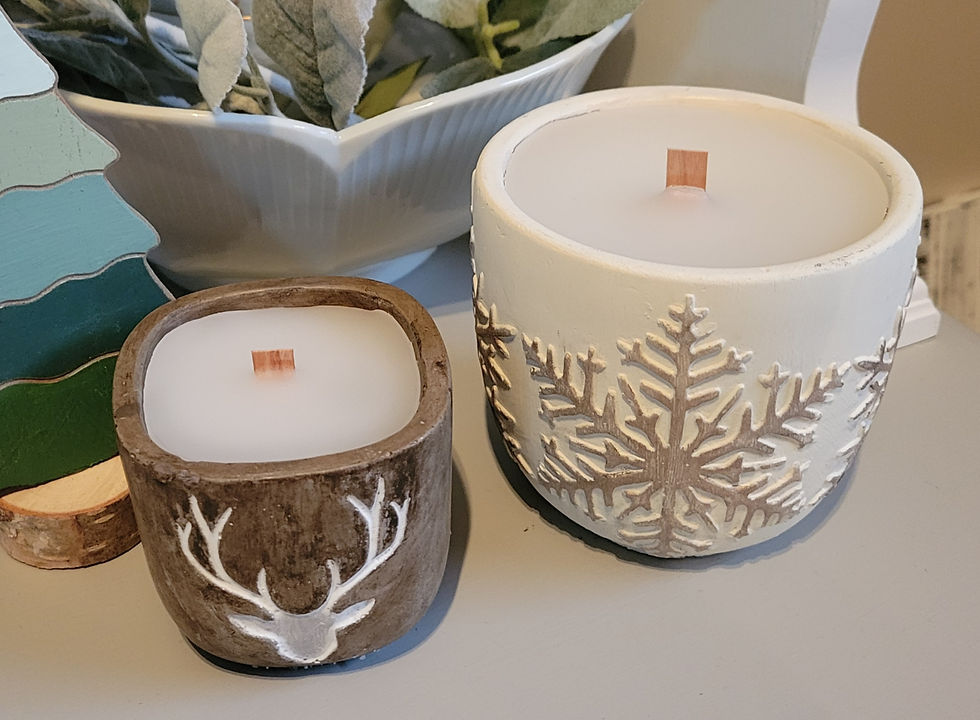
Creating your own candles is one of the easiest ways to add cozy, seasonal charm to your home—especially when you start with a unique thrift shop find. In this project, we’re transforming a thrifted snowman vessel into a beautiful winter candle using simple, beginner-friendly supplies from Amazon. This DIY is inexpensive, quick to make, and perfect for decorating, gifting, or selling.
Why Use Thrift Shop Vessels for Candle Making?
Thrift stores are full of hidden gems like mugs, figurines, and decorative containers that make one-of-a-kind candle vessels. A snowman container adds instant winter charm and gives your finished candle a high-end, boutique look without the high price tag.

Supplies You’ll Need
Most of these items can be easily ordered from Amazon through this link: Candles
Thrift shop snowman vessel (ceramic or heat-safe)
Soy candle wax flakes
Candle wicks (cotton or wood, sized for your vessel)
Wick stickers or hot glue
Candle fragrance oil (optional)
Heat-safe pouring pitcher
Wooden skewer or chopstick
Step-by-Step Candle Making Instructions
Step 1: Clean and Prepare Your Vessel
Wash your snowman vessel thoroughly with warm, soapy water and allow it to dry completely. Make sure the container is clean and free of dust or residue so the wax adheres properly.
Step 2: Secure the Wick
Attach your wick to the center bottom of the vessel using a wick sticker or a small dab of hot glue. Press firmly and let it set for a minute. Use a wooden skewer or chopstick laid across the top of the vessel to keep the wick centered and upright.
Step 3: Melt the Wax
Add soy wax flakes to a heat-safe pouring pitcher. Place the pitcher in a double boiler over medium heat and allow the wax to melt slowly, stirring occasionally. Heat until the wax is fully melted and smooth. (You may also be able to find a heat safe pot with a pouring spout at the thrift store too!)
Step 4: Add Fragrance (Optional)
Once the wax is melted, remove it from heat. If you’re using fragrance oil, add it according to the manufacturer’s recommended ratio and stir gently for about 30 seconds to evenly distribute the scent.
Step 5: Pour the Wax
Carefully pour the melted wax into your snowman vessel, leaving about ½ inch of space at the top. Pour slowly to prevent air bubbles and keep the wick centered as you pour.
Step 6: Let the Candle Set
Allow the candle to cool and harden at room temperature. This usually takes several hours. Avoid moving the candle while it sets to prevent cracking or uneven surfaces.
Step 7: Trim the Wick
Once the candle is fully set, trim the wick to about ¼ inch. This ensures a clean, even burn when your candle is lit.
Styling & Display Ideas
Display your snowman candle on a winter mantel or shelf
Pair it with greenery, books, or wood accents for cozy décor
Wrap it with ribbon for a thoughtful handmade gift
Use neutral or soft winter scents for a designer-inspired look
Final Thoughts
This easy DIY candle proves you don’t need expensive supplies to create beautiful, high-end home décor. By combining a thrift shop snowman vessel with simple Amazon candle-making supplies, you can craft a charming winter candle that looks custom and feels special.
Whether you’re decorating your home, creating gifts, or just enjoying a relaxing DIY project, this candle is a perfect place to start.


Comments